If you don’t paint your nails often, it can sometimes seem like an impossible task: painting your nails perfectly. Especially when you start comparing yourself to everything on Youtube, Instagram, Pinterest, or TikTok.
But… guess what: many of those photos and videos have been edited extremely heavily: your painted nails will never look like they do in the photo or video.
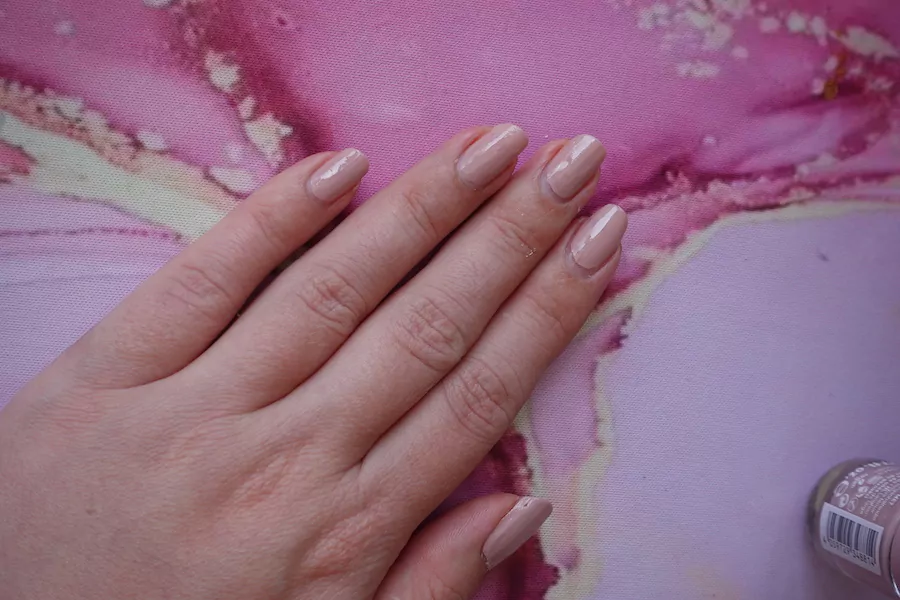

That’s why I like to show you how to paint your nails (nearly) perfectly and also just get to see pictures of what REAL nails and real hands look like, without Facetune, Photoshop or Instagram filters!
Anyway, let’s start at the beginning.
Grab all of your nail stuff ahead of time and put on a fun episode of your favorite series (I’m re-watching the Gilmore Girls right now, love it), go make your favorite coffee and let’s get your nails painted!
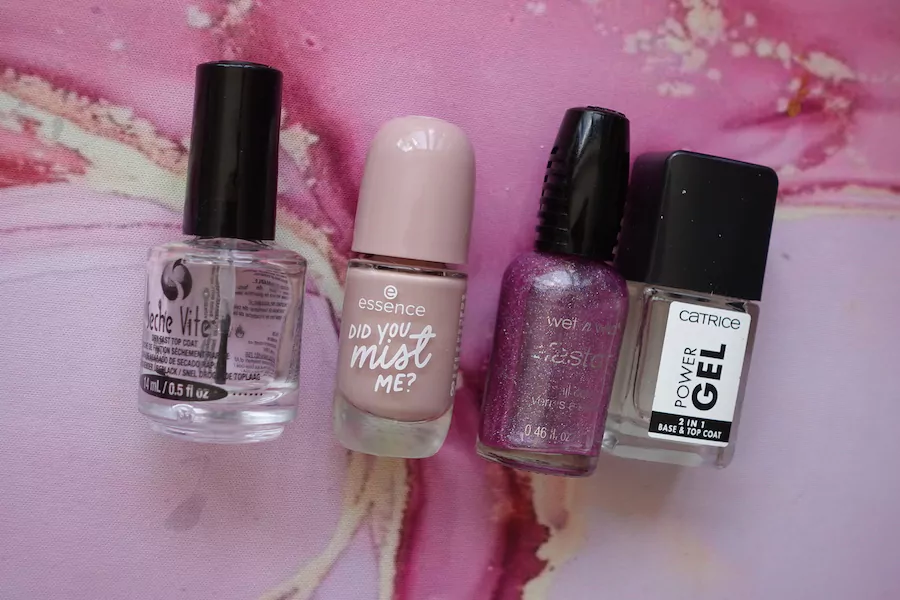

Oh yeah, and also take a moment to choose which of the nail trends you want to try out from my article on nail polish trends 2022!
Ps, this is a guide for painting your nails with regular nail polish, not gel nail polish. If you want to learn how to apply gel nail polish, I wrote a guide for that too: How to apply gel nail polish.
Table of Contents
How to paint your nails?
In this step-by-step guide, I’m going to show you how to paint your nails (I’m also currently editing a video for our YouTube channel, so you’ll be able to follow it step-by-step there soon as well) and the steps you need to take to make your nails look as neat as possible.
Prep your nails
One of the most important steps of all: prep your nails! If your nails are not neatly clean, the basecoat cannot adhere properly and you will get gunk on your nails.
So how should you prep your nails? First of all, remove your old nail polish, should it still be on them. Make sure your nails are clean, washed and grease-free. If you want, you can still trim or file them.
You can also buff the nails a bit, if you like (with a nail file), but that is definitely not a must. In fact, I would only recommend it if you have a lot of ridges in your nail bed.
Your cuticles
Honestly, I don’t do all that much to my cuticles. I give them a good dollop of my fav moisturizer a few times every week, and then I lightly push them back.
Once I had a “nail technician” cut away my cuticles, resulting in a huge infection (she apparently hadn’t sterilized her equipment properly). So I really never ever want to do that again.
Push them (well moisturized, I recommend a nice thick cream from Lush or something similar with real butter and oils) back gently with your nail or a cuticle stick.
Do remove all the oil and cream before you start painting your nails! If you don’t, the nail polish won’t adhere well.
Apply a basecoat
Well, you’ve completed the nail polish prep!
Time to apply a good basecoat. I am a huge fan of this basecoat and topcoat in 1 from Catrice (Powergel).
PS: this basecoat makes all of your applied nail polish into a peel off polish! But, and here’s the good part, only when you’ve soaked your hands into a warm bath. Ideal!
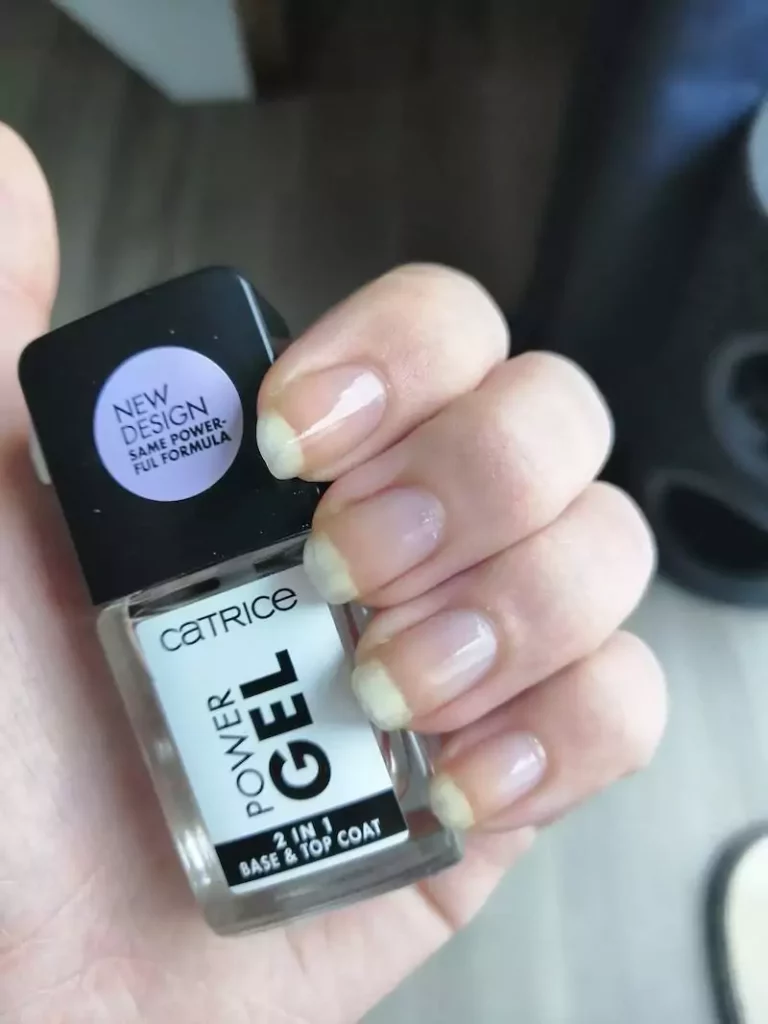

I find it spreads very nicely and evenly, has a good brush and stays on nicely. Plus, it also protects my nails from the bleeding and staining caused by some nail polish colors.
Do you need to apply a basecoat every time? Yes, I definitely think so! If you don’t want your nails to discolor, you should apply a basecoat. Sometimes I even apply 2 layers, if I know there is a chance of discoloration (red nail polishes and pink nail polish, I’m looking at you).
How do I apply a basecoat? First of all, you have to learn how to work with the brush a bit: leave a little space at your cuticles and on the sides of your nails. This will give a more “polished” (haha, sorry!) look to your nails.
Paint your nails
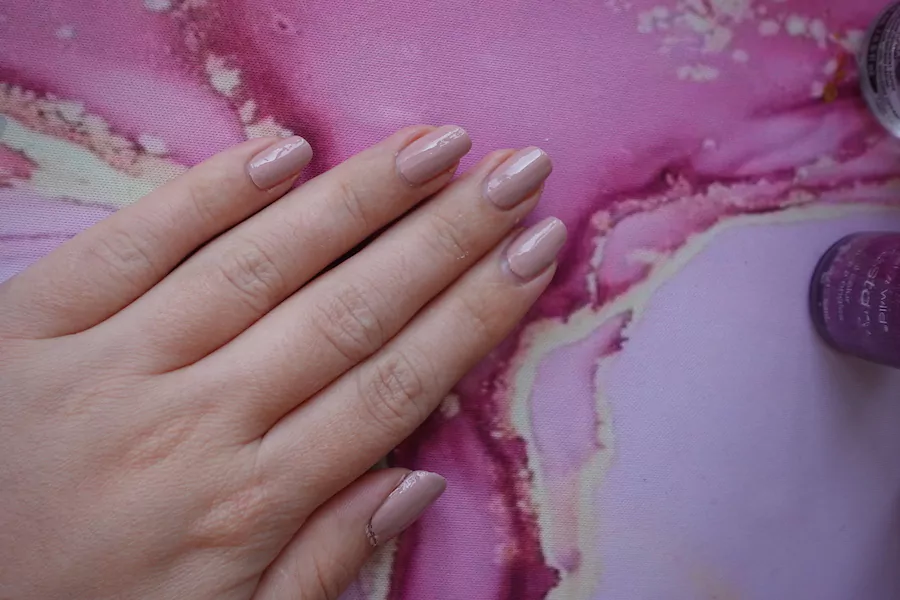

As with the basecoat, it is best to apply thin coats of colored nail polish.
Again: leave some space open between your skin and the nail, don’t paint everything right until the skin. You’re better to apply several thin coats of lacquer, than 1 thick coat (that’s going to take forever to dry…).
Above all, trust the brush (this is also a good tip if you are going to lacquer with your non-dominant hand) and push it well flat on your nail. Let it rest onto your nail.
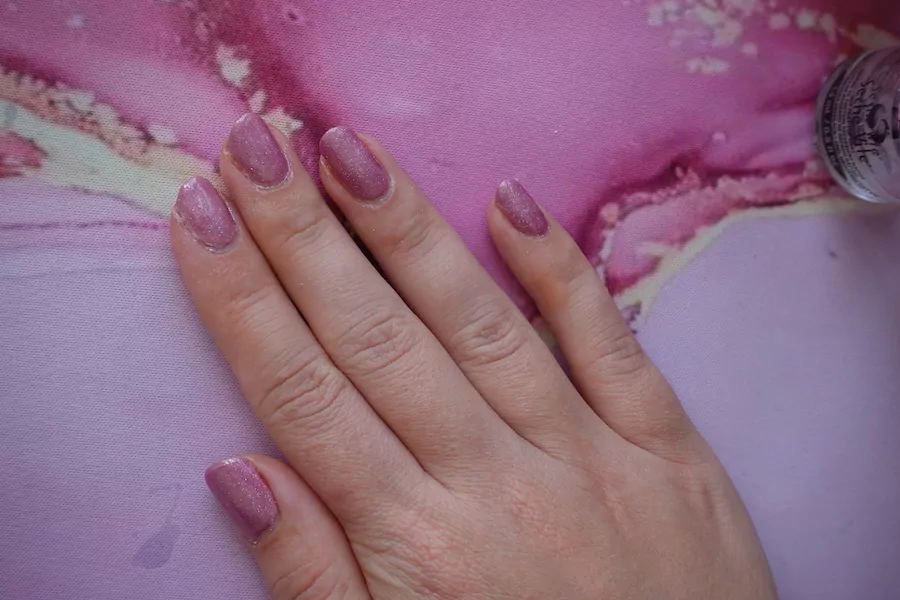

Clean-up: removing spilled nail polish
Did you spill any nail polish? Maybe you’re as clumsy (haha, sorry to hear…) as I am and you don’t always manage to paint your nails perfectly from the first try.
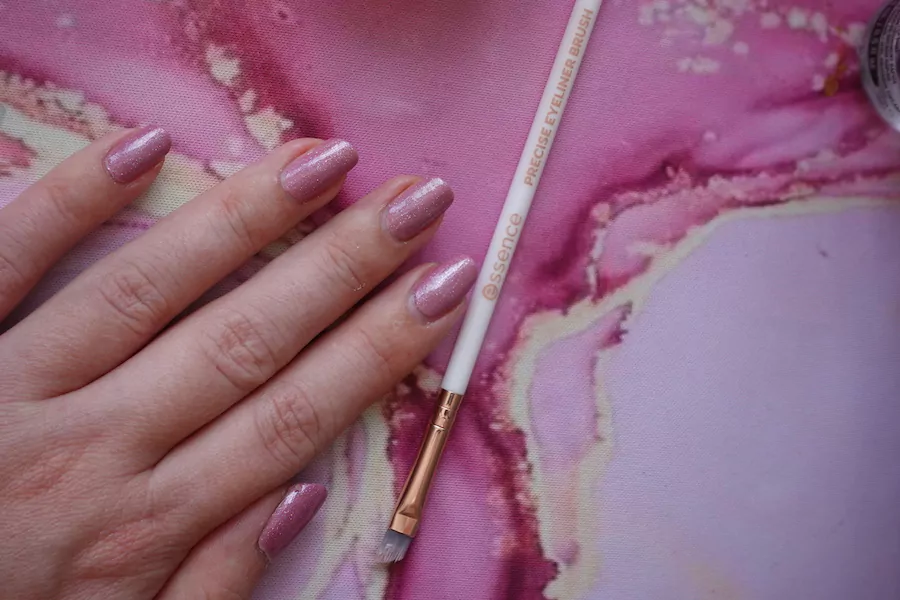

Don’t you worry, that’s why we have the cleanup round!
You don’t need much for this, mind you! I use a cheap eyeliner brush from Essence, along with some acetone (mine is a little bit more nourishing with almond oil in it).
Dip your brush in the acetone and clean your cuticles and the spilled nail polish on your nail bed.
Rather not use acetone? Then be sure to keep on reading for the following tip.
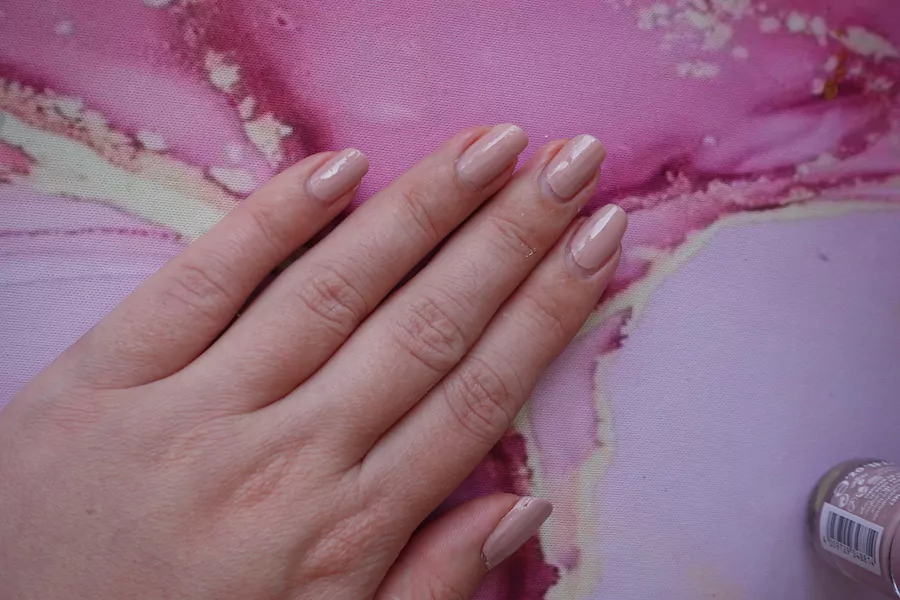

Apply a topcoat
After the clean-up, apply a topcoat to protect your nail polish.
I am a huge fan of Sèche Vite, which is a topcoat that ensures that ALL layers of nail polish will dry quickly. Within 15 minutes, you can just get back to all your tasks.
No endless waving your hands until you can finally use them again, wonderful. I have tried many other brands, but I still swear by my bottle of Sèche Vite. I’m sure I’ve already used up more then 10 in my lifetime…
If you prefer not to use acetone and you haven’t done any clean-up until now, you can still fix the mistakes and spills.
You can, after your nail polish is completely cured, wash your hands in warm water and then apply a nice oily hand cream.
That way, those spilled edges of nail polish will come off too. I definitely use this option once a week when I really don’t feel like “totally perfect nails” and this clean-up is just totally fine.
I hope you liked these tips!


